One of the downfalls we have found with Windows computers is this it is very difficult to find a free program that will allow you to record what is happening on the screen, and even the versions that you have to pay for don’t always work especially if the computer you are using is older or not very powerful.
However, if you own a MacBook or iMac with OSX Snow Leopard or later, are looking at producing your own tutorial or how to videos and want to be able to capture what is happening on your screen then you may not realise that your Mac already has the features built in to be able to do this and it is surprisingly easy to do!
In this step by step tutorial we will show you how to access the program to capture your screen and the process involved in doing so.
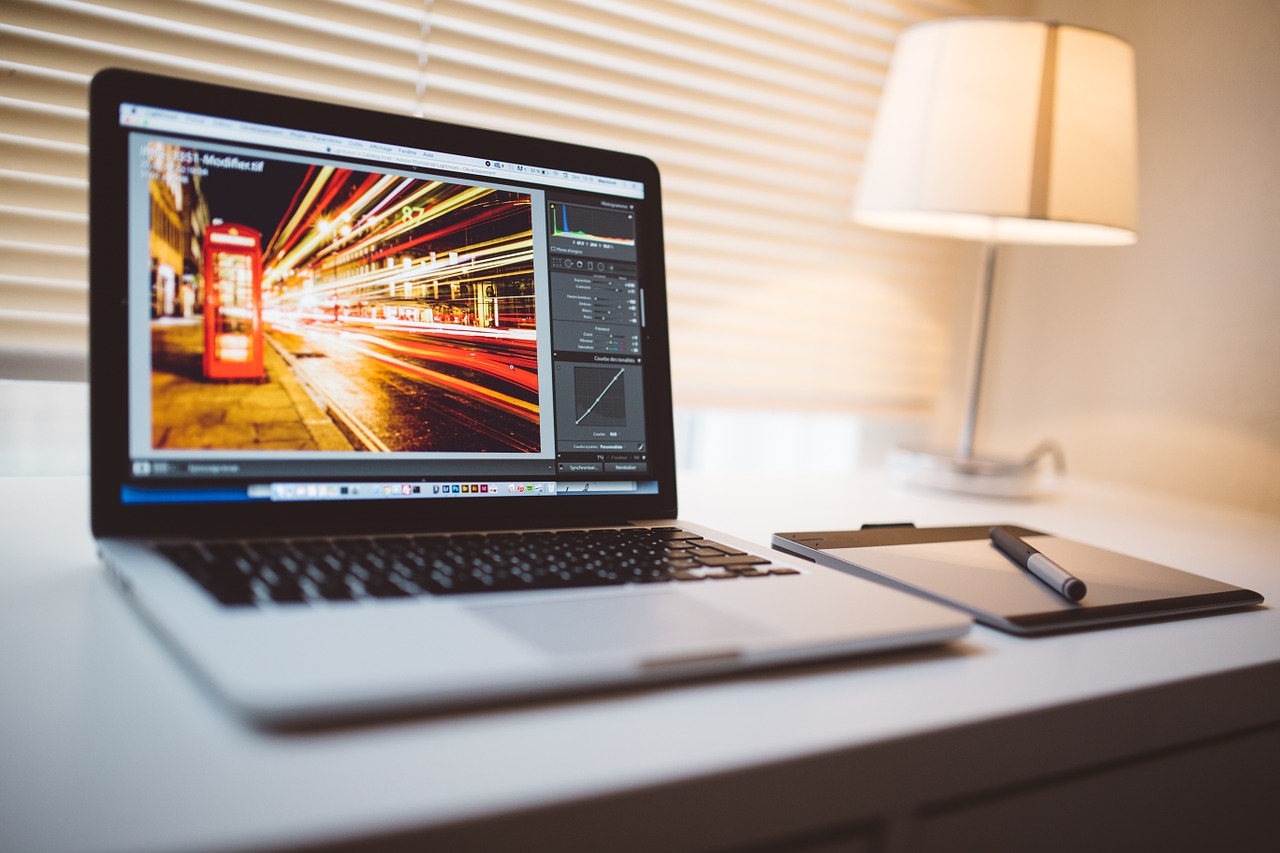
Open QuickTime Player
If the QuickTime Player doesn’t appear on your dock bar at the bottom of your screen, use the “Spotlight Search” function, (the little magnifying glass on the top right of your screen) to search for it on your Mac and open up the app. Initially you will be greeted by a finder window to choose a video to play, which is useful if we were looking to play a video, but isn’t relevant for capturing the screen, so we can ignore this for the moment.
Starting a new screen recording
With QuickTime Player open, navigate to “File” at the top of the screen, and click on “New Screen Recording”.
You will be greeted with the following window.
If you would like to incorporate a voice over whilst capturing what is happening on your screen, click on the small arrow to the right of the capture button, and select the microphone you wish to use. This will either be the built in mic or an external mic if you have plugged one in. When you are ready to start capturing the screen, click the capture button and you will see the following message.
Follow the instructions this message provide by either clicking on the screen you wish to capture (if you use a dual screen setup) or click and drag a portion of the screen to capture instead. The message will now disappear and the screen recording will start automatically. At the top right of the screen you will see a small stop button to end the recording. You are now capturing everything that is happening on your screen.
Stopping and playing your screen recording back
To end your screen recording, simply press the stop button at the top of the screen. Your captured video will automatically open up to allow you to watch it back. If you are happy with the video that you have captured, navigate to “File” at the top of the screen and press “Save”. Choose a relevant name and location to save the file and click the blue “save” button. If you aren’t happy with the video that you have captured then it is easy to start again. Simply close the video and click “Don’t save” and follow the instructions above again to initiate a new recording.
You can also capture vlogs
If instead of capturing the screen, you want to capture a vlog of yourself talking to camera instead, then you can do this through the QuickTime player too. When you open QuickTime Player, instead of clicking “New Screen Recording”, click “New Movie Recording”. As long as you have a webcam built in, you will be greeted by a virtual mirror of yourself. Start and stop the recording by clicking the capture button in the middle and the same process applies as above for playing, saving and deleting the video.
What if I want to capture the screen of my iPhone or iPad instead?
As long as you have a Mac you can do this to! Simply plug your iPhone or iPad into one of the available USB ports and open up the QuickTime Player, but instead of clicking the “New Screen Recording” option, click on “New Movie Recording”. Initially when you click on this option you will be presented with the virtual mirror of yourself, but to switch to your iOS devices screen, click on the arrow next to the capture button and choose your iPad from the list the appears.
If you want to include a voice over, you can also choose whether you want to use the microphone that is on your Mac, or if you wish to use the microphone built in to the iPhone or iPad instead. Simply press the capture button to start recording the screen of your iOS device, and again, the same process above applies to stopping the recording, playing the video back and deleting or saving the final video.
Using your iPhone or iPad to capture the audio
One very useful feature that we have found if you are using your Mac to capture a vlog or your screen is the ability to use your iPhone or iPad as an external microphone. The problem with using a Mac’s built in microphone, is that if you are in a noisy environment it makes it difficult to minimise the background noise. If you plug your iOS device into your Mac and start a new screen or movie recording, you can use the drop down arrow to the right of the capture button to select your devices inbuilt microphone instead.
Placing the device closer to your face will help you to filter out the background noise that may be present.