Periscope is a freely available mobile app available for iOS and Android devices that is the perfect tool for you to live stream video footage to your audience on Twitter.
Similarly to Facebook Live, it is very easy to use and is a great way to reach out to an extended audience as video (or visual content in general) always seems to receive a far greater engagement compared to text only content. And due to the very open nature of Twitter it will make it much easier for people to find you.
How do I start a live stream with Periscope?
Your first step, if you haven’t done so already, will be to navigate to either the App Store on iOS or the Google Play Store on Android and search for ‘Periscope’ and download it to your mobile device.
Now open the app and you should be greeted with a screen similar to below.
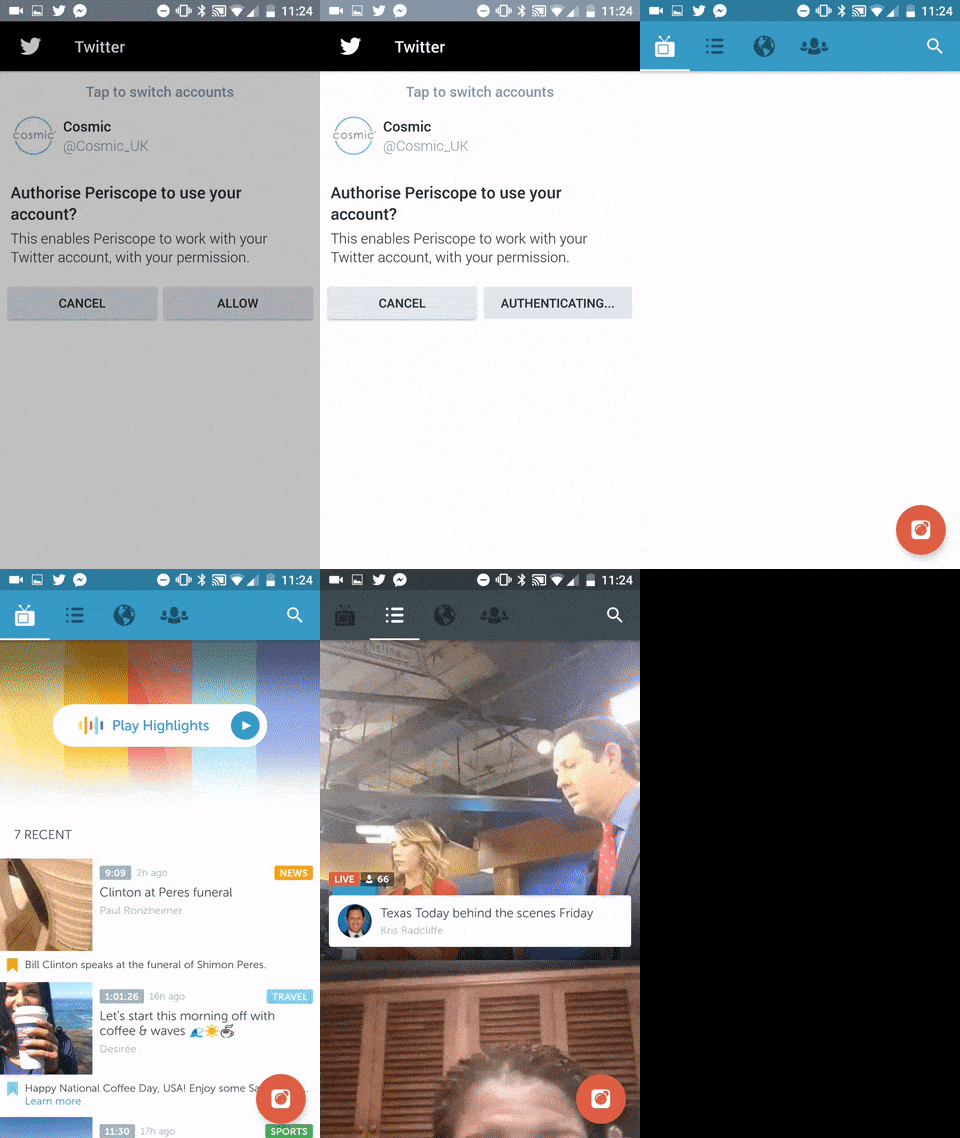
Press “Log in with Twitter” and allow the app to access your Twitter account (whether this be your business or personal Twitter account). Once you have logged in, you will see a feed of all of the latest highlights that have been active on Periscope. On the navigation bar at the top you can switch this between (left to right) the Highlights, current active live feeds, a map of active feeds taking place and a list of trending users and your own followers that are using Periscope on Twitter.

Before we go to start a new live stream, we will need to head into the settings area to make sure everything is set up correctly. Press on the 4th icon to the right at the top of the screen, and then press your profile icon that appears on the top right. Press “settings” and scroll down to the “Other” tab. There will be two settings here that you may wish to change. The first is “Autosave broadcast”. Whilst you are live streaming you can choose whether you want your phone to automatically save your stream to the phones inbuilt memory, allowing you to edit it or upload it to other sources if you wish. The second is “Auto-delete after 24hr”. As default, Periscope automatically deletes your live stream after 24 hours. Switch this setting off and your live stream will be available for anyone to watch back for as long as you wish.
Now that we have changed the relevant settings, it is time to start a new live stream. Press on the red camera icon on the bottom right of the screen where you will see a screen like this.
The first thing that you need to do on this screen is create a catchy broadcast title. The key to this is to keep it as short as possible due to Twitter’s 140 character limit, but also engaging enough to make your audience want to watch it. Include a relevant hashtag to help extend your reach. You don’t need to include #Periscope in your title as the app will include this automatically.
As you will be broadcasting live on Twitter, you will want to keep ‘Public’ selected at the top of the screen and you can also choose whether you want to allow your location to be visible to those watching.
You should now be ready to go live! Take a deep breath and press the red “start broadcasting” button to initiate your live stream.
What you see on your mobile screen will be what anyone else tuning in will be seeing. You can see how many people are currently tuning in and by swiping down from the top of your screen you can switch between your front and rear facing camera, and when you have finished your broadcast, simply press “Stop broadcasting”.
After you have finished your live stream on Periscope, your Tweet will stay on Twitter permanently and allow anyone to watch it back if the missed it at the time.
If you need any support with your social media or video content requirements, please do not hesitate to contact us on 0330 0883 005 or info@cosmic.org.uk.
